How to set up snowboard bindings
So you just got your first set-up! Congrats! But yeesh, you’re probably wondering how to set up your bindings, right? Don’t stress – Dope’s School of Shred is in session! Check out our guide, mount those bindings, and dial in your riding.

Unboxing your new snowboarding kit – it’s a glorious mix of excitement and ‘Can we just go to the mountains already?’. Oh, but wait a minute – what’s this? Your bindings arrive with screws, washers, and over-complicated grids and charts.
Don’t worry – setting up your bindings is way easier than it seems. And we’re here to walk you through every step. Okay, you’re probably tempted to ask your local snowboard shop to mount them for you. And you certainly can, but it’s good to lock in the skills and knowledge for yourself. That way, if you run into a binding issue on the hill, you’ll have a better understanding of what’s wrong – and, more importantly, how to fix it so you can get back on snow.
So, grab your included hardware packet (usually featuring four bolts, four washers, and a disc plate for each foot, unless it’s a Channel system set-up, in which case it’ll be two bolts per binding) and tools (a #3 Phillips screwdriver or multi-tool and tape measure), and step into Dope Mag’s guide on how to set up your snowboard bindings. Once you’re done, all that’s left to do is complete the rest of your gear list. Our top recommendation? Checking out our fire range of snowboard pants and snowboard jackets, of course.
Step-by-step guide for setting up snowboard bindings
1. Work out your stance: Goofy vs Regular
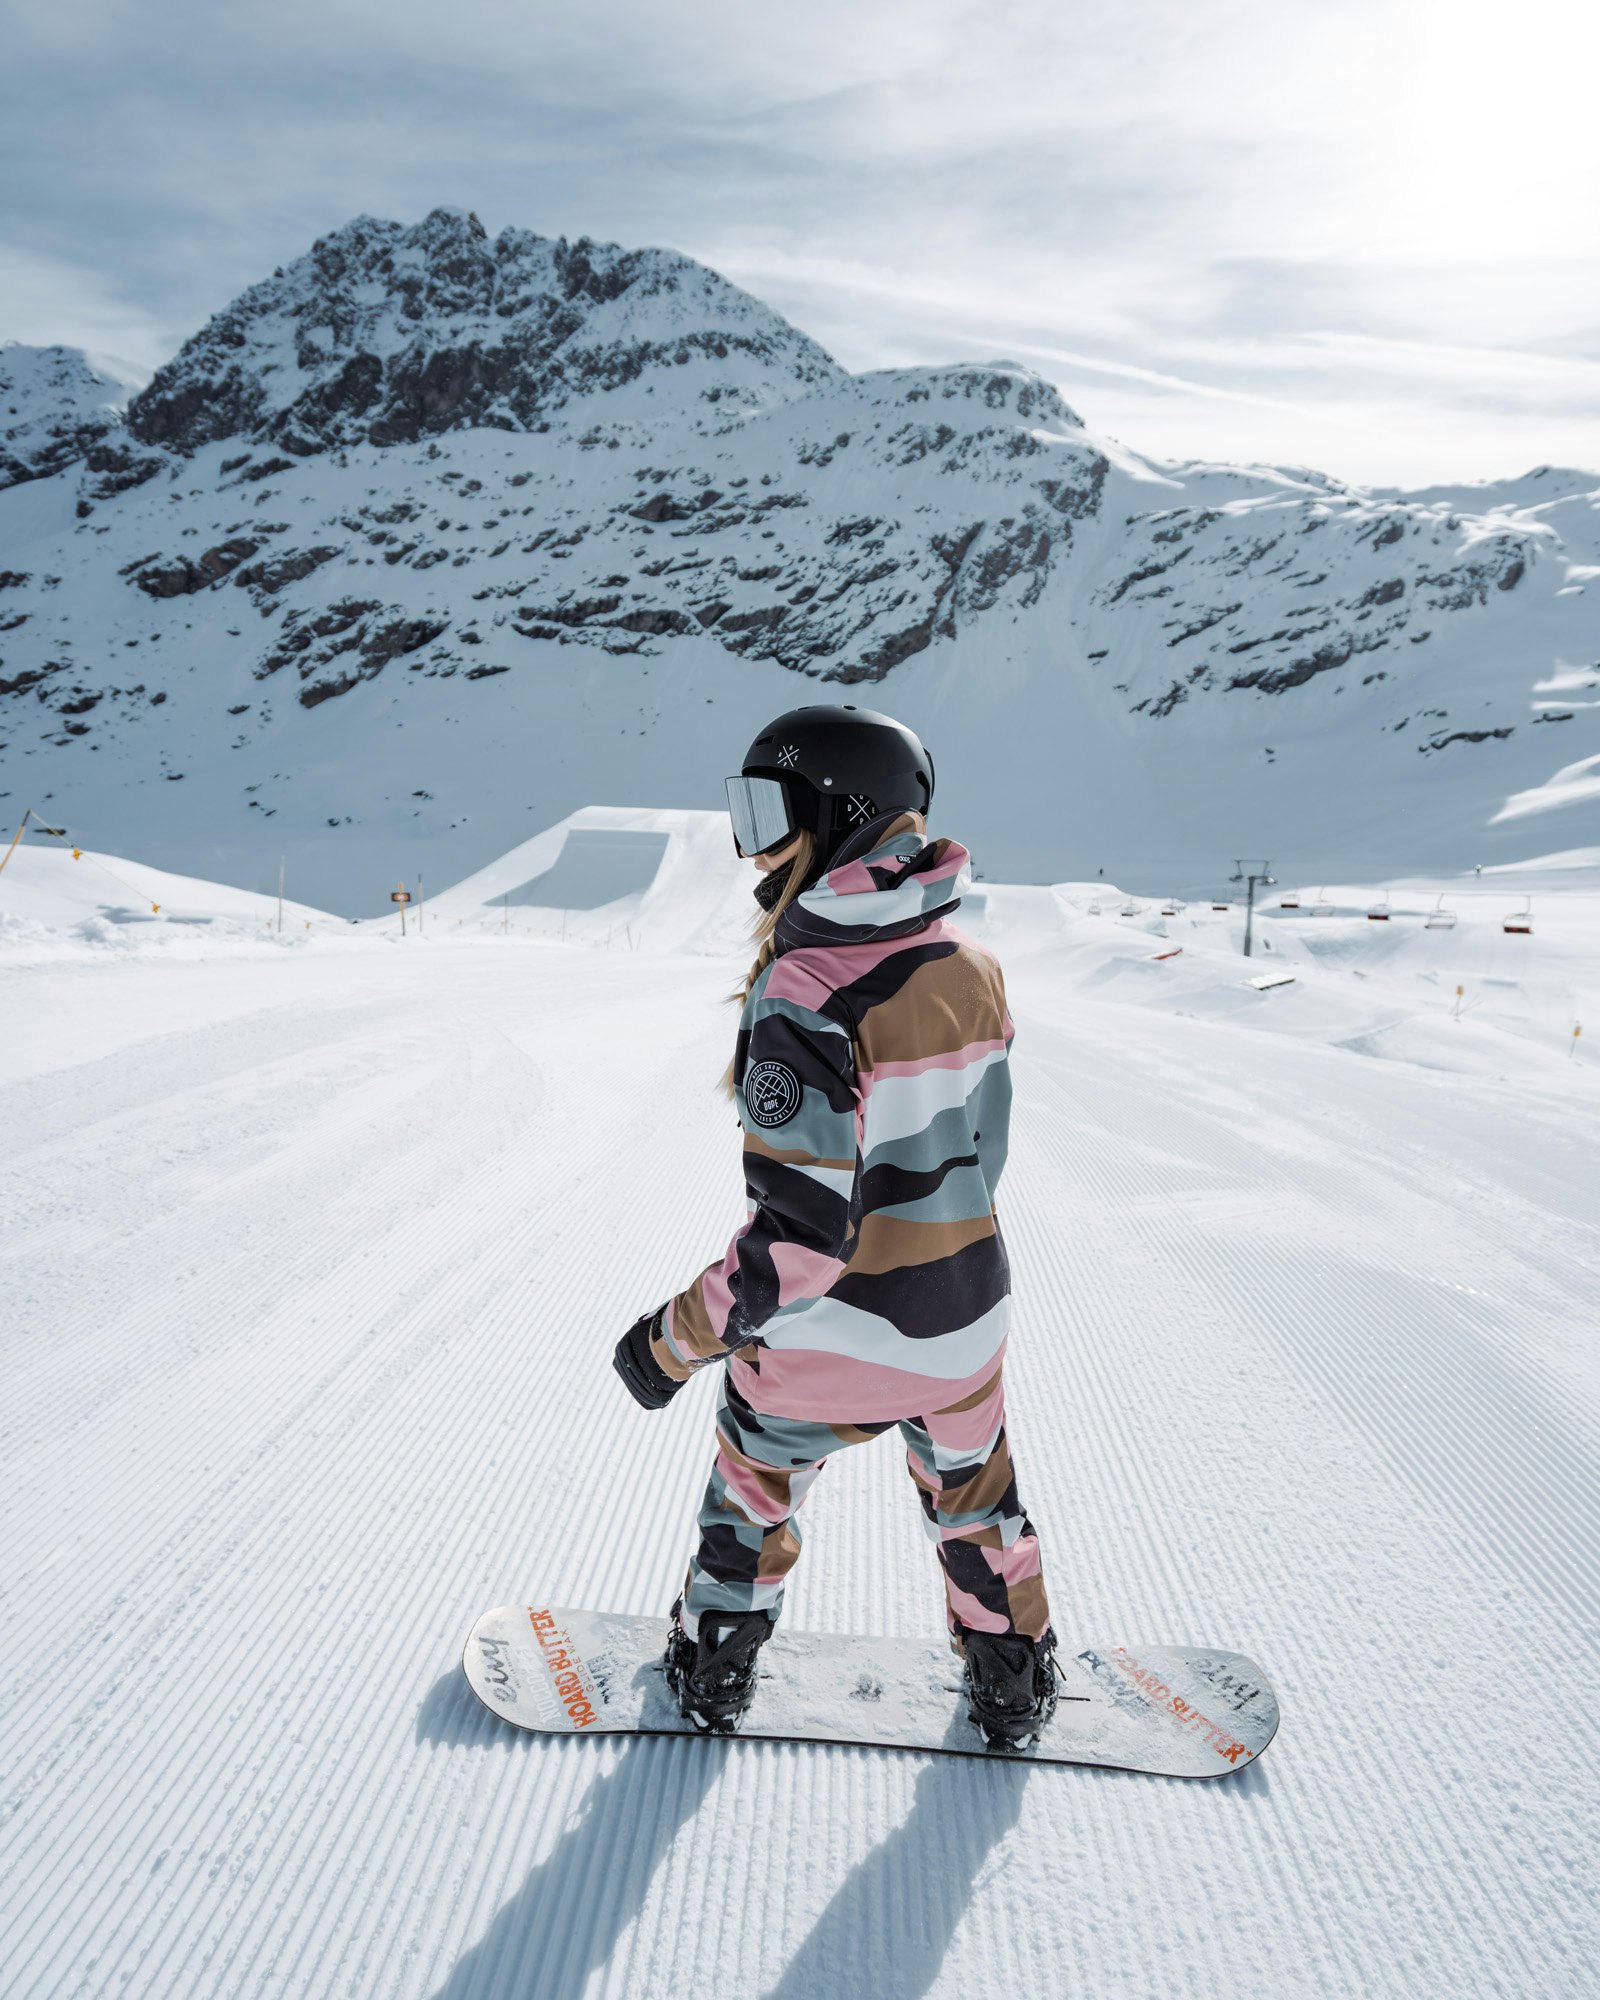
Ask yourself one question before doing anything else: what’s your natural snowboarding stance? This involves working out whether you lead with your right or left foot, where your leading foot faces the front/nose of the board. This foot provides balance and direction while your back foot steers (this is often your dominant foot). Luckily, you can only be one of two options: Goofy or Regular.
So, how do you know which is which? Well, if your left foot points down the fall line, you’re Regular. More into riding with your right foot forward? Well, look at that, you’re Goofy. Now, you know which binding to place at the front of your board. If you’re regular, the toe of the binding will be on the right-hand edge of the board (when looking at it from the tail), and if you’re goofy, your toes will be on the left-hand edge of the board.
Not sure whether you’re Regular or Goofy? Put on your socks, find a slick floor, run, and slide. Whichever foot instinctively goes out in front is usually your leading foot on a snowboard. Boom – you’ve cracked your stance (and hopefully not your ankle with that slide!). You can also ask a friend to (gently!) push you from behind or have a game of tug of war. Whichever foot is in front is your leading one. Don’t be afraid to mix things up, though. If things don’t feel right once you’re riding, play around with changing your stance.
2. Determine your snowboard stance width
Ah, stance width. This is the distance between your bindings. Nailing your stance width is super handy for increasing your balance and ability to turn. And it varies from rider to rider. However, most snowboards feature marks on the topsheet highlighting a ‘Reference Stance’ (the recommended stance relative to your board’s design and dimensions). This isn’t something you have to stick to, though. Ultimately, stance is down to preference and what feels right to you.
If starting from scratch, use the ‘Reference Stance’ and see how it feels. It should feel pretty good providing your board is sized correctly for you. Alternatively, stand in a power stance, with your knees a fraction wider than shoulder width. Feel wobbly or too far stretched? Move your stance until you find the sweet spot and feel super balanced – like you could easily pop into a jump and nail the landing. Don’t forget to switch things up depending on the terrain, though. For example, freeriders often choose a wider stance than usual to handle big lines at speed, while park rats opt for a narrower stance for more jibability. It’s a word — trust us.
Once you’ve found your preferred stance width, measure the distance between your feet, from the middle of your front foot to the middle of your back foot. If your preferred stance is wider or narrower than the ‘Reference Stance’, you’ll need to move your bindings towards each other or away from each other. A good rule of thumb if you need to narrow your stance is to move your front binding back to elongate your effective nose. If you need to go wider, move your rear binding back to shorten your effective tail. You should never have a shorter nose than tail – always remember that! And you can always experiment with it, of course, moving your bindings closer together or further apart – forwards and backwards on the board – to find what feels right.
3. Decide on your setback
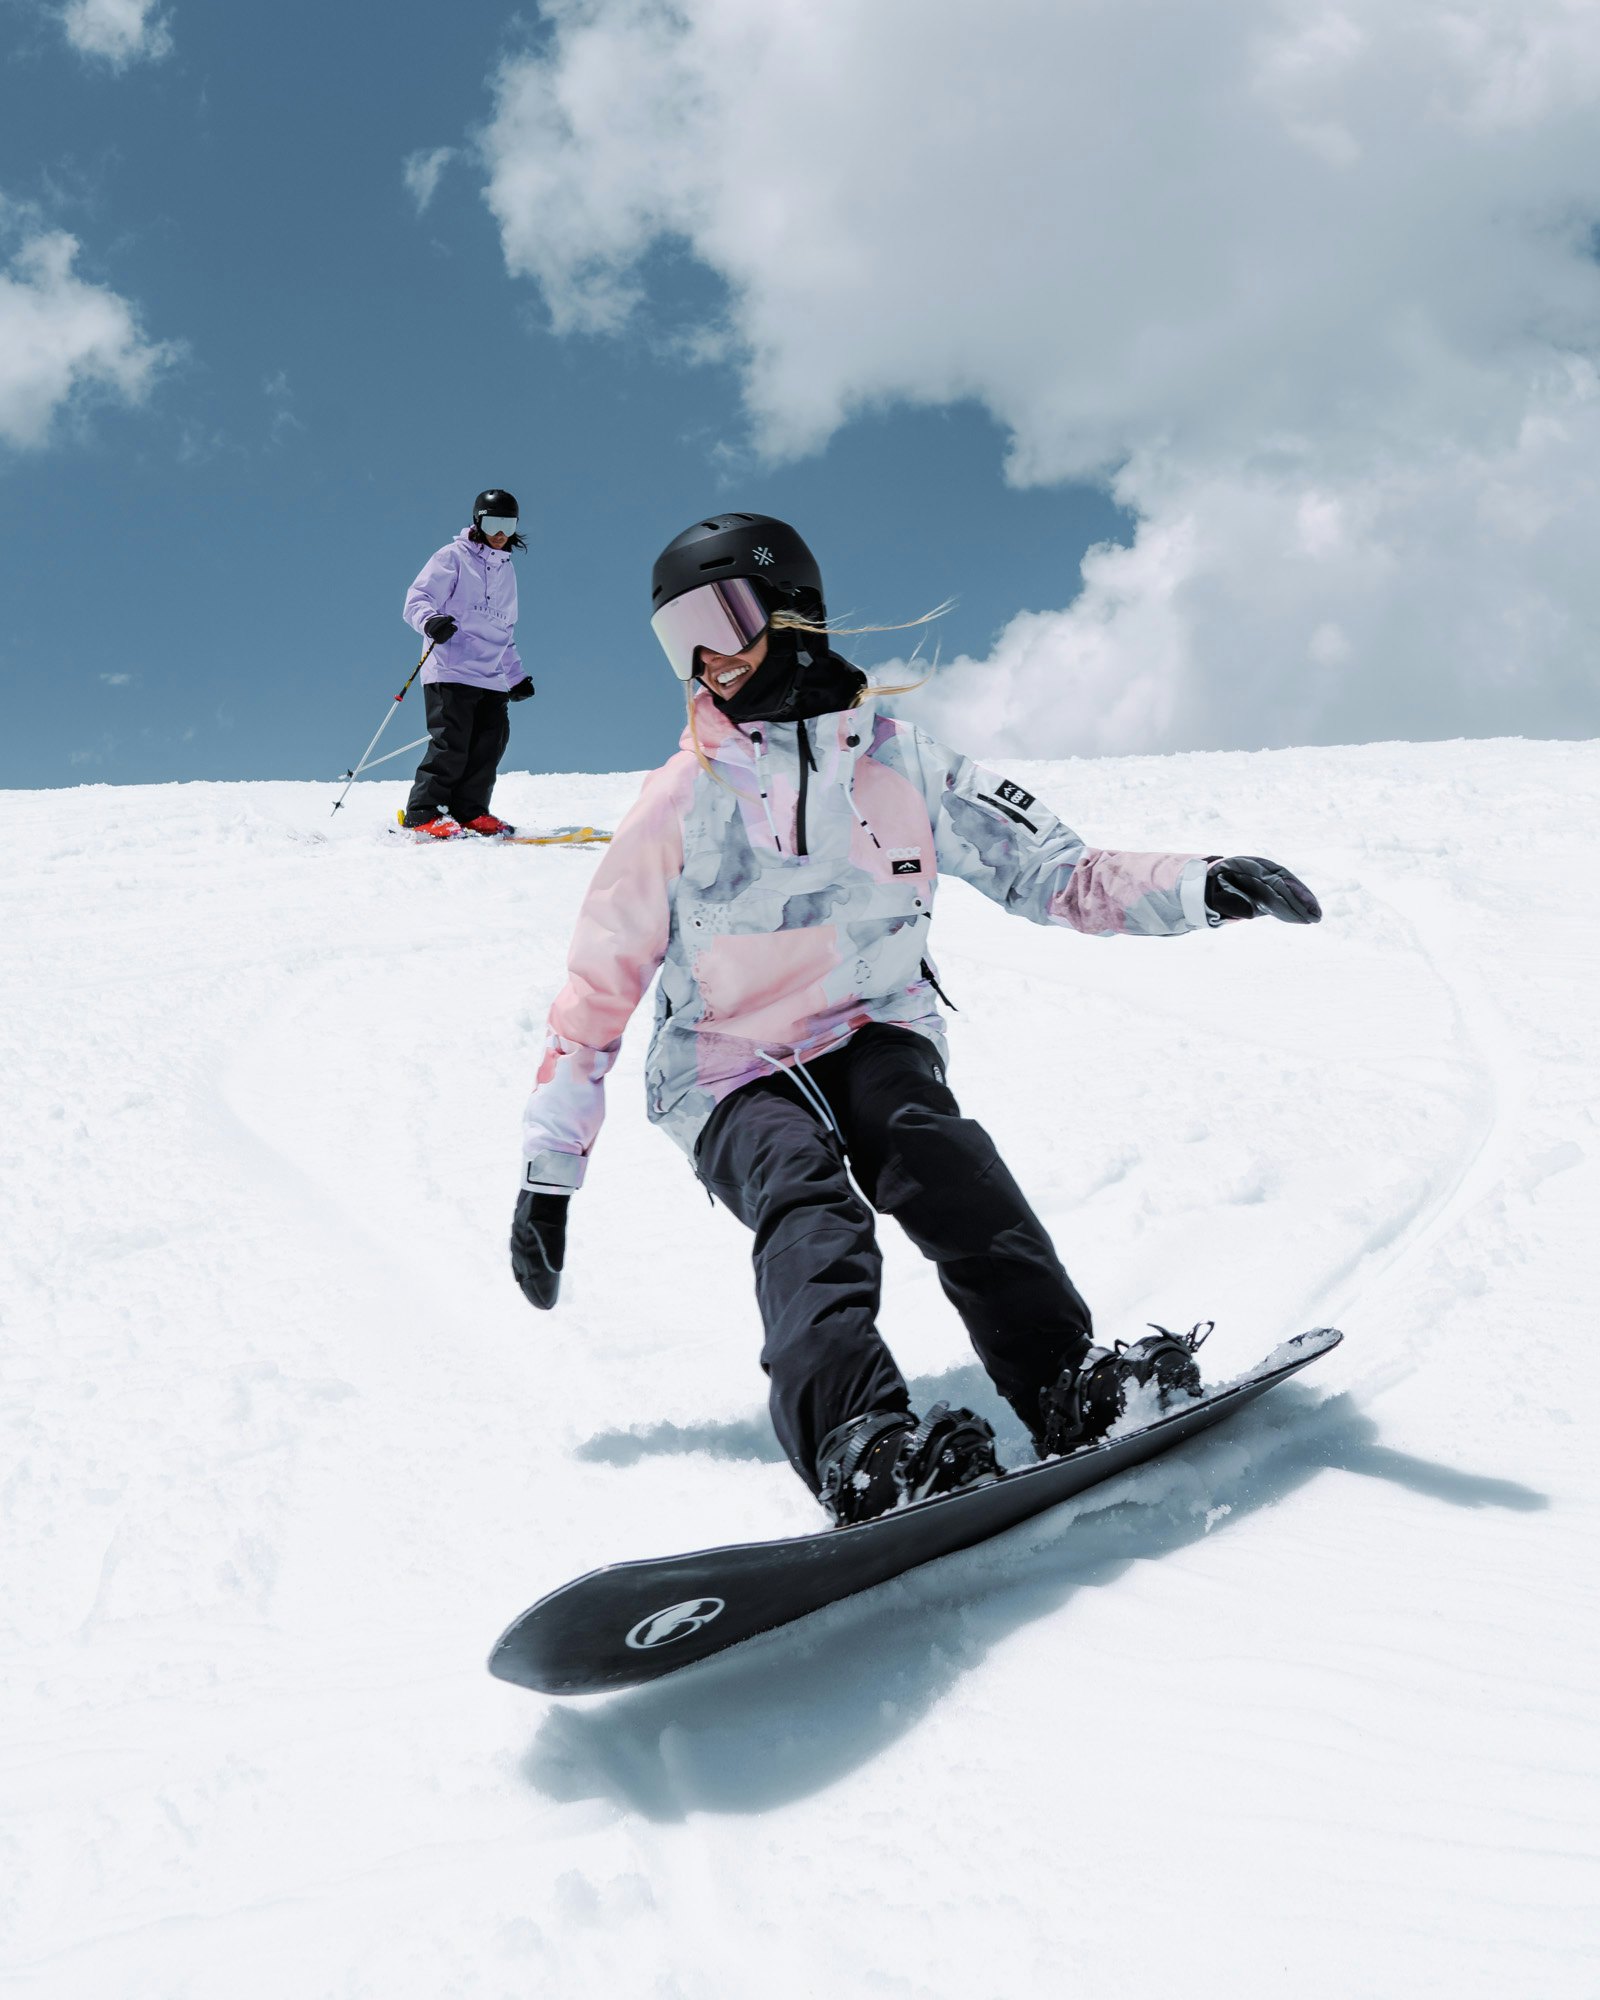
Your stance setback determines how far you’ll place your bindings towards the tail and which holes you’ll use to secure them in place. This can vary from board to board. Most true twin boards have no setback: your feet are perfectly centralized on the board if you’re at reference. Directional twins may have no or a small setback (15-30mm is common), while pow boards will have a larger setback to rear-weight the board for better float in powder conditions. Though, no boards will be set forward, remember!
If you’re unsure what to do or why to do it, just go with the ‘Reference Stance’ using the markings on the board. It should serve you well! If you want to get a little more in the weeds … Centered stances are good for freestyle because your board is weighted equally for spins and tricks, making things more predictable when you’re in the air. Setback stances are better for powder, as they will naturally bring the nose up without too much effort from the rider. For beginners who often end up riding switch before they link turns, a centered stance is recommended!
Riding switch is where you ride with your weaker foot forward (essentially riding backwards). We might do this because we learn to stop and turn on our heel edge first, and it’s tough to get onto the toe edge on steeper terrain when you’re learning. So, you’ll likely be doing the ‘falling leaf’ where you move side to side, leading with alternating feet as you get down steeper sections of the mountain. This is the main reason beginners should have a centered stance to start their riding journey.
4. Choose your binding angles

We’ll begin with the standard ‘disc’ binding, which interfaces with the four-hole design – not the EST Channel design used by a few brands. When you look at the disk that attaches the binding to the board, you’ll see numbers and markers from -20 to +20 degrees (although some go to +30). These marks and numbers help you work out your angles. If both bindings are at zero, you’ll find this very uncomfortable to ride. But ‘splaying’ your feet will make things much better.
Turning your front binding towards the nose is known as giving it a positive angle (+) and turning your back one towards the tail is known as giving that binding a negative angle (-). This usually results in a setup of something like +15, -15, which is often given to learners or those renting gear. This is known as the Duck Stance and is a good place to start. You’ll angle your feet slightly away from one another in a positive/negative stance, like a duck’s feet. Though, once you progress, you’ll likely want to change these to something more comfy for you.
A lot of riders use a less splayed angle at the back than the front, which gives a more ‘forward facing’ feel. Something like +18, -6, or +15, -9, for example. Again, it’s all down to preference. But, generally, all-mountain riders and park rats like Duck Stance for the added stability (especially when landing switch!). This Duck Stance is, again, the best place to start for beginners. And if you feel that the +15, -15 is too splayed, you can go for +12, -12, or even lower. And if it’s still tough on the knees, try a slightly narrower stance to get started.
5. Fit your snowboard boots
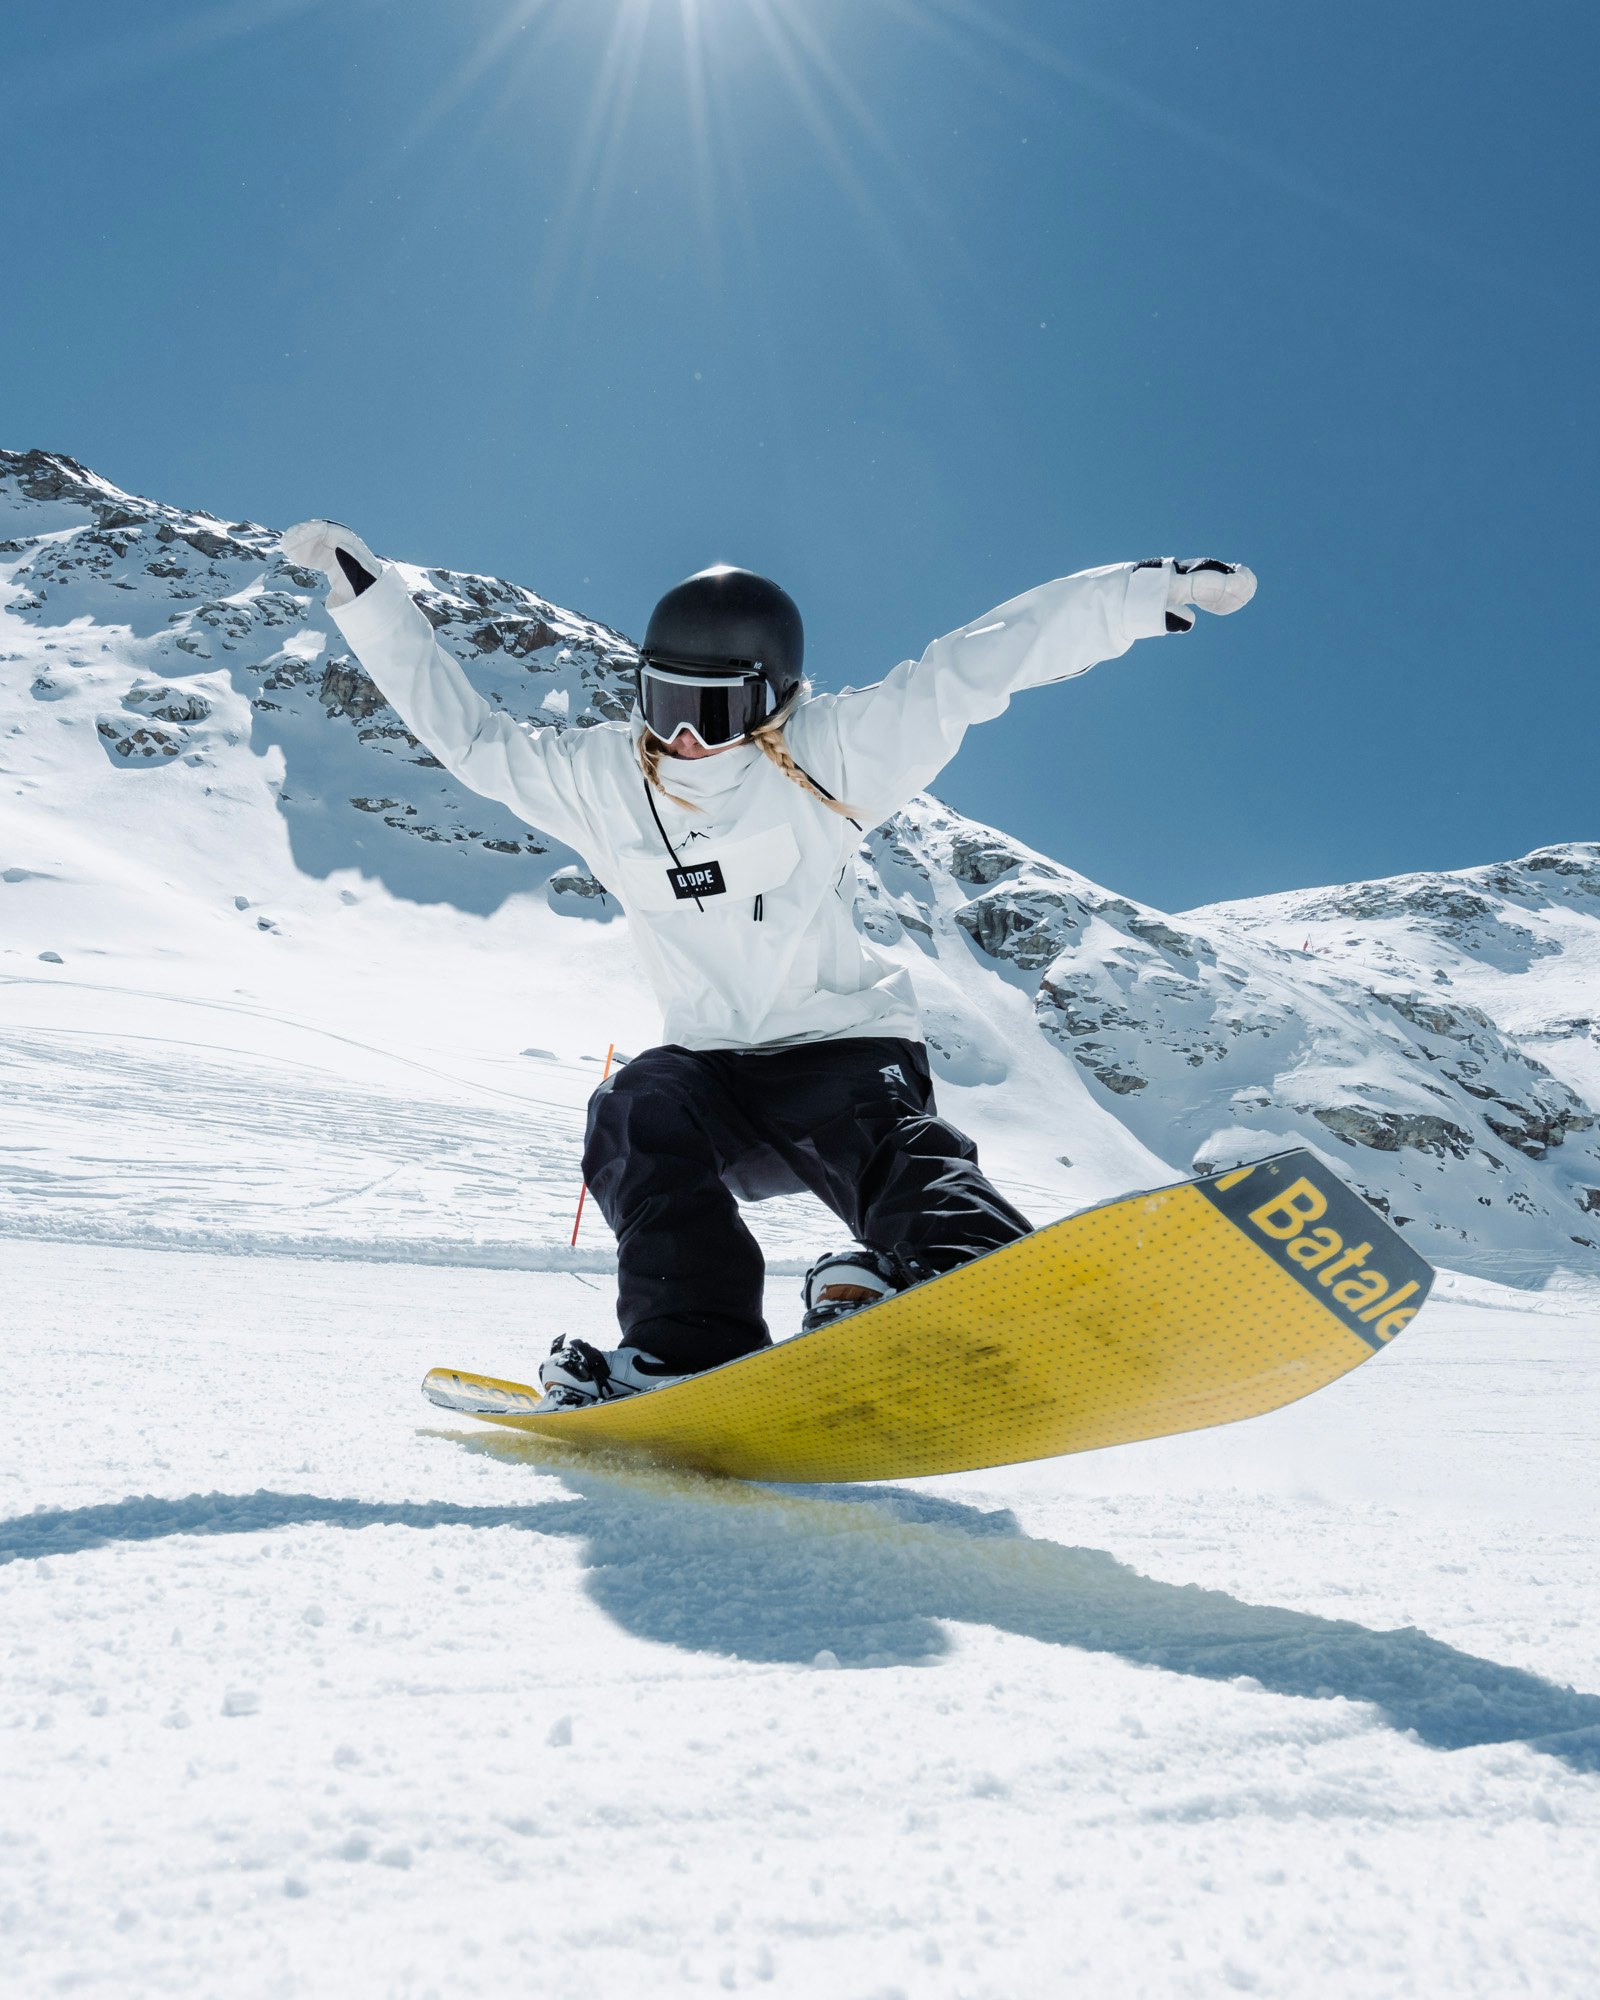
Have you ever tried putting down a heel-edge carve with your boot digging into the snow? Not fun, right? So, it’s important to take the time to fit your boots into your bindings and ensure they are centralized between the toe and heel edge without too much overhang on each side.
To do this, open up the binding straps (toe and ankle). Then, place one boot into the matching binding. Remember, the footbeds are anatomically shaped for your left and right foot, and the ratchet mechanism will always be on the outside of your feet. Don’t be the newbie who turns up for first lifts, only to realize their bindings are the wrong way around. It’s easy to make the mistake if you’re not paying attention!
Now, take a look at how each boot fits. Do you have the right amount of heel and toe overhang on the board? Is the gas pedal (extendable toe portion of the footbed) giving enough support to the boot? Are the ankle and toe straps centered over the boot? Does the binding look too big or too small? If something doesn’t look right, tweak it. For example, if you have a major toe overhang, adjust the heel cup (if possible) to move the boot further towards the heel edge. Though, if you’re not able to adjust the heel cup or gas pedal and it still seems like something’s up … you might have the wrong size bindings!
6. Mount your bindings
Now, we come to the fun part: mounting them! For this, you’ll focus on the nut inserts already on your board. These inserts are what your bindings bolt to.
Dope Mag Tip: Loosely tighten the bolts first and then stand in the bindings to make sure you’re happy with the position before fully tightening and replacing the footbeds. Once everything looks good, then tighten the screws (but don’t over-tighten!).
To mount your bindings (with discs):
- Place your bindings on your board, roughly where you want to mount them
- Make sure the binding for your leading foot is facing the nose and the ratchets are on the outside of your boots
- Position them over the desired mounting holes, and then place your disc plate into the binding at your chosen angle, rotating them until the holes on the plate line up with the holes on the board
- Place a washer and screw into each hole on the binding
- Fasten the screws in place, going corner to corner first, fastening in an ‘X’ shape. Tighten lightly, and then go back around, cranking them down tight in the same pattern
- Repeat for the other binding
7. Adjust the bindings, if needed
Want to check your handiwork? Throw your boots on and place your snowboard on the carpet and step into your bindings. Ah, go on – bounce a bit from side to side, too. How does it feel? Too narrow, too wide, or just right? If something feels off, adjust it using the steps above.
You can also tweak the bindings themselves. One way to do this is by adjusting the angle of the highback (rotating the highback for better boot fit), or adjusting the forward lean (the angle of the highback perpendicular to the board). These adjustments will help you get comfy on snow. More forward lean on the highback will put more pressure on your toes and help prevent heel-catching while learning. Less forward lean gives a looser and surfier feel, which can be more comfortable, but more prone to hooking up while transitioning from heel to toe: not good for beginners!
Finally: don’t forget to add a stomp pad if you want. These are awesome for adding stability when getting off lifts or having only one foot strapped in. Oh, and stomping off excess snow, of course. As a general rule, place your stomp pad near to the inside of your back binding. But remember: stomp pads are pretty much permanent and ridiculously tricky to move. So, make sure it’s not covering any inserts or somewhere that’ll stop you from adjusting your stance later on.
What else do you need to consider?
Setting up a snowboard and working out your favorite stance is an ongoing process for many riders. It can take a while to progress from ‘This feels a bit off’ to ‘Yew! I’ve got it!’. And, even when you’ve cracked your stance, you’ll sometimes want to readjust and move your bindings because of certain factors. These include:
Riding conditions
Is it nuking out there? You might want to think about setting back your stance for the morning for some extra float in pow – keeping your board’s nose above the white stuff is key. So, set your stance back just one or two inches (i.e., one screw hole) by moving the back binding closer to the tail and the front one down the same amount. Your weight automatically shifts to your rear foot, and the extra surface area at the nose encourages that dreamy float we’re all chasing.
If you’re pining for freshly shaped park conditions, point your bindings outwards, à la duck stance. Because your weight is equally distributed on your board, you can ride switch smoothly and rotate like a pro. Nice!
Snowboard shape
Sometimes, it helps to switch up your stance depending on your board’s shape. The legendary Jeremy Jones is a fan of doing this. For example, he’ll often choose a positive/positive stance on most of his boards (including all his directional, surf series boards). This is usually +6 to +12 degrees. However, when he reaches for a twin snowboard? Jones goes for a slight Duck Stance. It’s the same for snowboard size. If Jones rips on a smaller board, he’ll narrow his stance.
Some riders stick to the same stance no matter their board (such as +15/-15). The only exception is a freeride board, where you might want a more forward-facing stance, such as +19/-7. Oh, and lucky enough to have a swallowtail in your quiver? Set your stance close to that beautiful tail for a dreamy surf-style shred.
Snowboard compatibility
While most discs are included with new bindings, it’s always worth checking whether your bindings, board, and discs are compatible. For example, you might run into EST ones (as we mentioned above!). These are disc-less and they only work with snowboards using the Channel system, which allows unlimited fine-tuning via micro-adjustments.
If you have a board with an EST Channel, you’ll have the choice of using specific EST bindings (which have no mounting plate under the footbed) with two mounting channels on the outsides of the bindings themselves, or regular four-hole ones, which feature two ‘channel mounting’ holes on the plate between the standard four-hole consideration. Though, if you have an EST binding, you can’t mount it to a four-hole board. Something to remember when shopping!
Wrapping up
Voila – you now know how to set up a snowboard ! Don’t forget – you can always play around on and off the hill to see what you like and don’t. Oh, and take your multi-tool with you – it always helps to prep for mountain malfunctions or switch on the fly.
Feeling good and want to show off your style? Tag us at @dopesnow – we love seeing what our community is up to! Oh, and speaking of community, why not join our Dope Snow Community Facebook Group? Chat with other riders, influence future collections, and flex your snowboard setup.
Related reading:
